

IPTV Smarters is an incredible video streaming player explicitly developed for end-users who want to watch live TV, VOD, Series, and TV Catchup on their Smart TV. This video player app is easy to use yet highly efficient, featuring a powerful player, an attractive, very impressive layout, and, most importantly, a user-friendly interface.
Step 1: Access the Source
Press the Source button on your Samsung remote to get started.
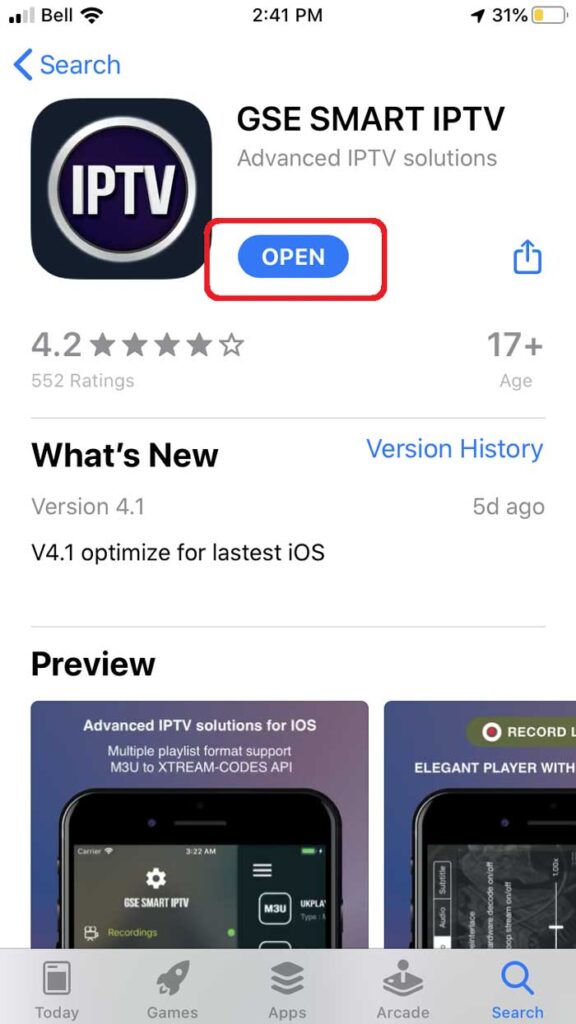
Step 2: Download IPTV Smarters Pro
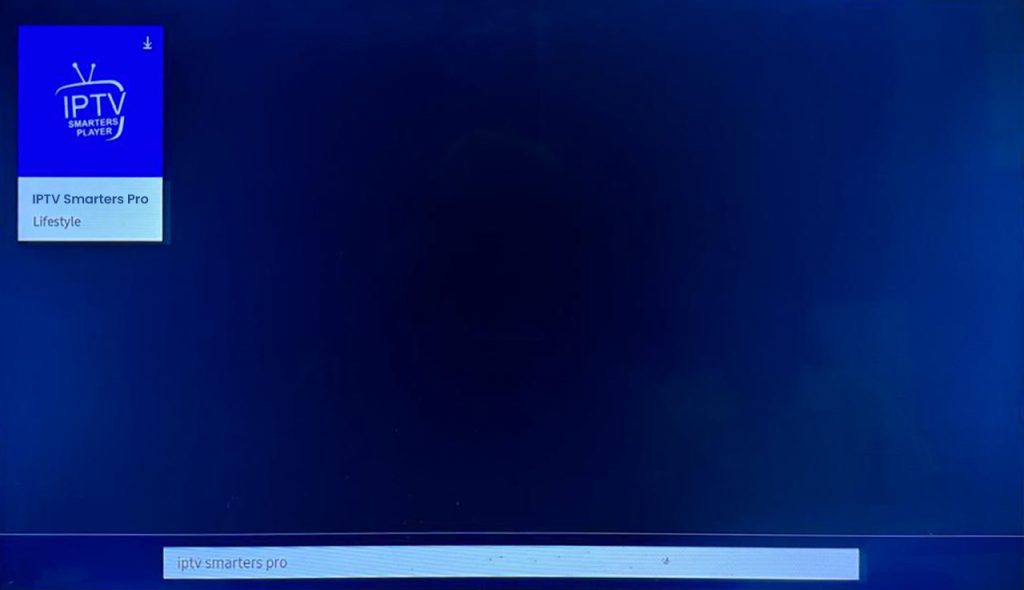
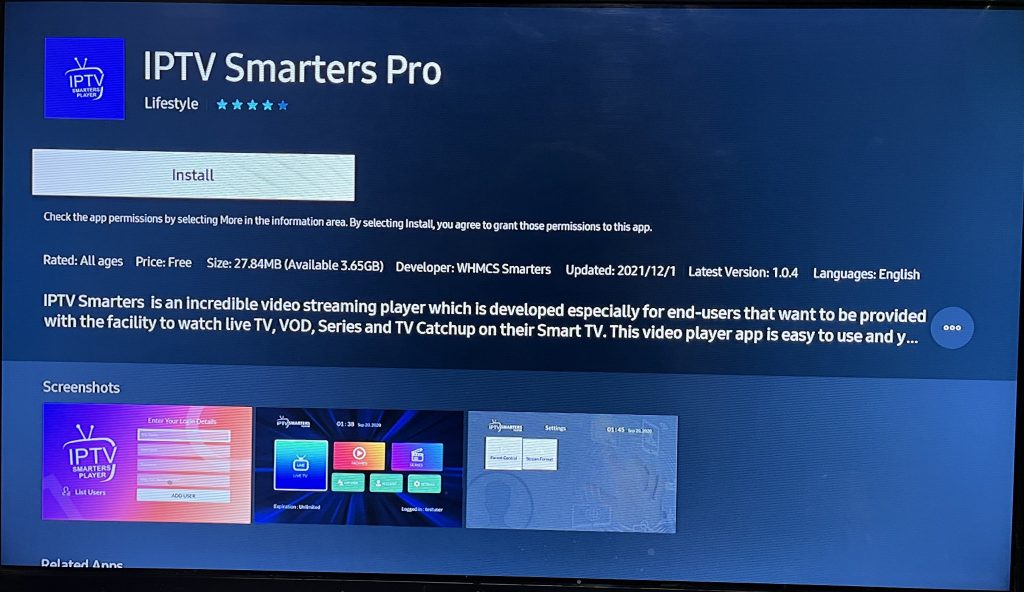
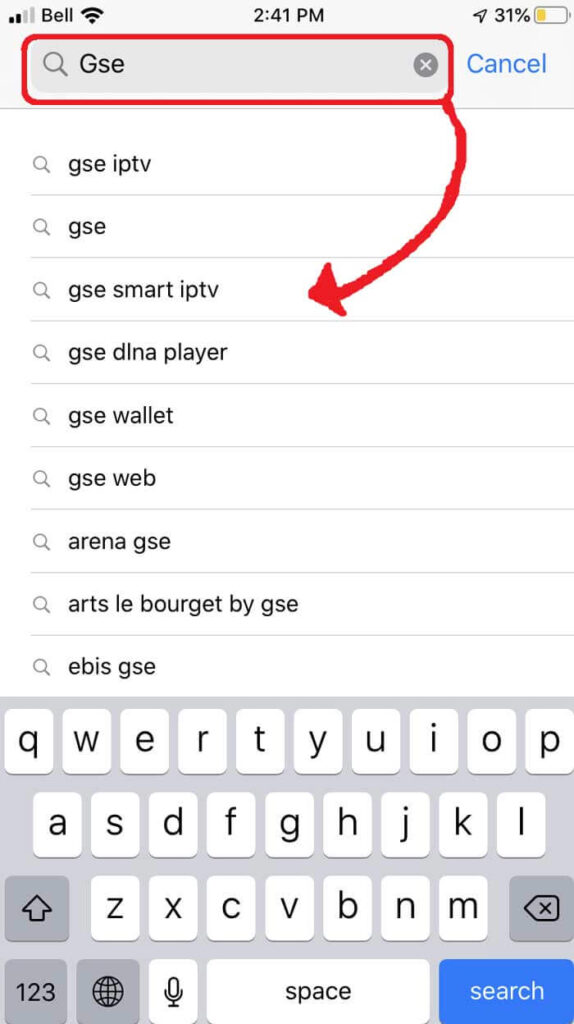
Navigate to Search and type in IPTV Smarters Pro to download the app.
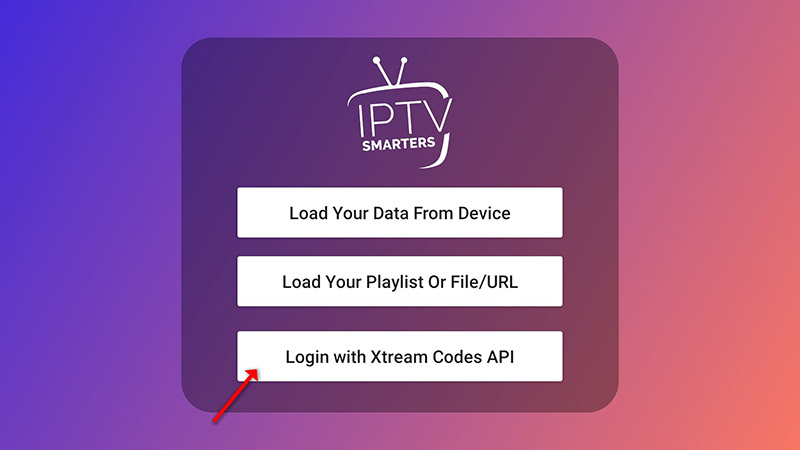
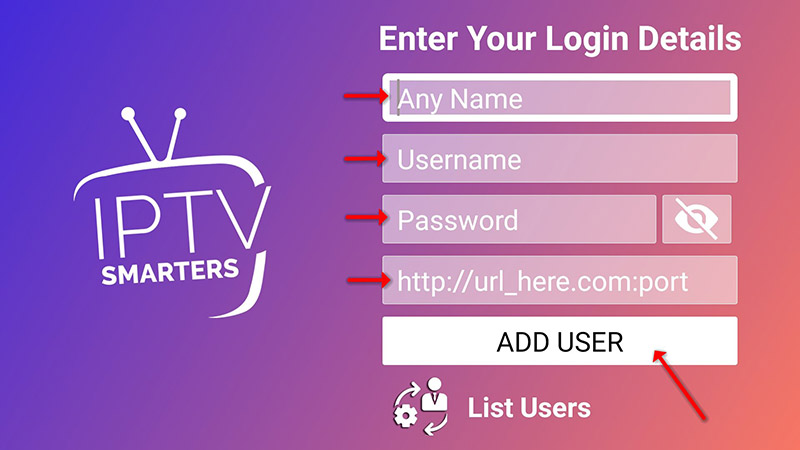
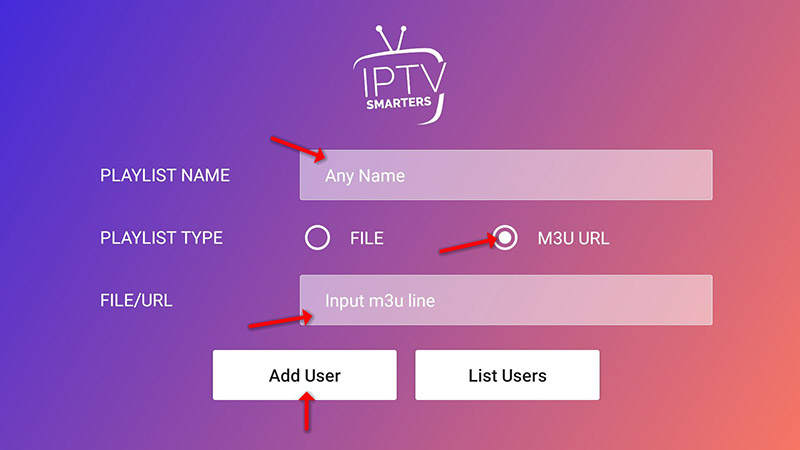
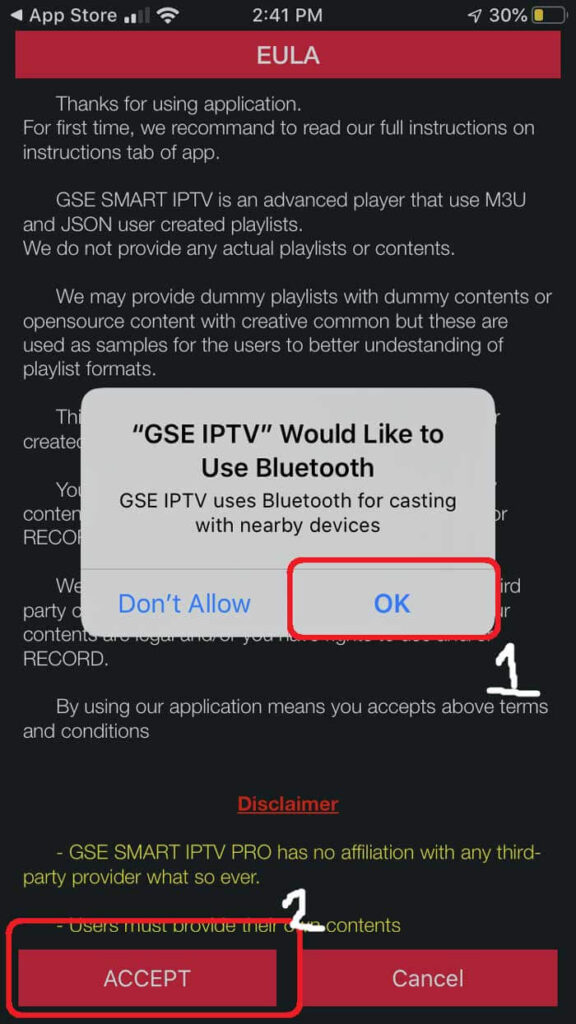
 Step 3: Log In to the App
Open the application and log in using your subscription details: Username, Password, and Portal URL.
Important Note:
Ensure that your service provider has their DNS registered with us for optimal performance.
Please be aware that the Premium Version features are not available on Samsung Smart TVs.
Step 1: Access the Home Menu
Press the Home button on your LG remote to begin.
Step 2: Open the LG Content Store
Please navigate to the LG Content Store and open it.
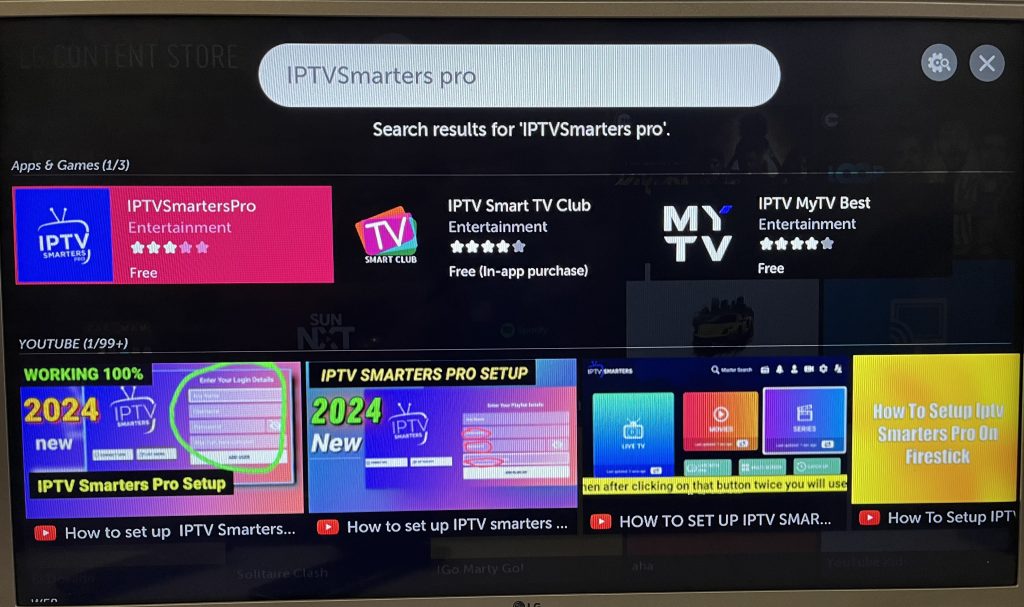
Step 3: Download IPTV Smarters Pro
Select the Search button, then type IPTV Smarters Pro to download the app.
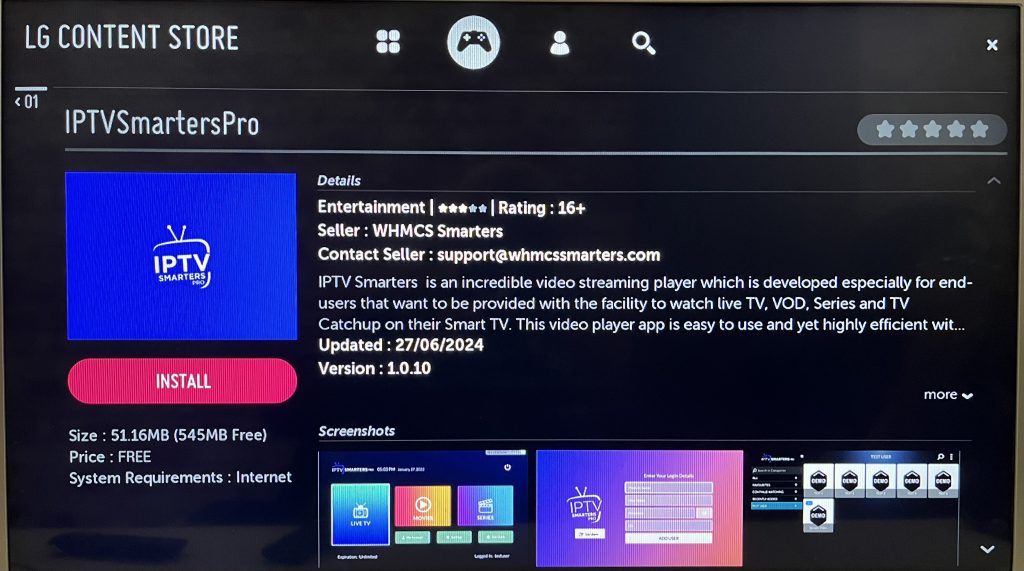 Step 4: Log In to the Application
Open the application and log in using your subscription details: Username, Password, and Portal URL.
Important Note:
Please ensure that your service provider has their DNS registered with us for optimal performance.
Note: Premium version features are not available for LG Smart TVs.

Download and install VLC Media Player.
1. Open up VLC Media Player
2. Simply Drag & Drop the downloaded m3u file to your VLC or open it via Media > Open File > “Choose your .m3u file”
If you don’t have file or IPTV link then kindly order yours from PILOTIPTV
Now you should be able to watch IPTV.
In order to switch channels, go to “View” in the Menu strip and navigate to “Playlist”(CTRL+L / Command+L on MAC)
You will now see a list of channels available to choose from. You can also use the search function to find a Channel.
And You Are All Done 
You should be good to go and watch your favorite TV Channels using VLC Media Player!
You can also use the IPTV SMARTERS Windows app. CLICK HERE for instructions.
This tutorial will guide you on how to set up the Smart STB app. It’s available for streaming IPTV channels on LG & Samsung TVs and provides Stalker/Mag experience.
Please note, you will need a PORTAL URL which is provided by us. If you do not have this then kindly CLICK HERE to get yours now.
1. Download Smart STB app from your Smart Tv’s app store.
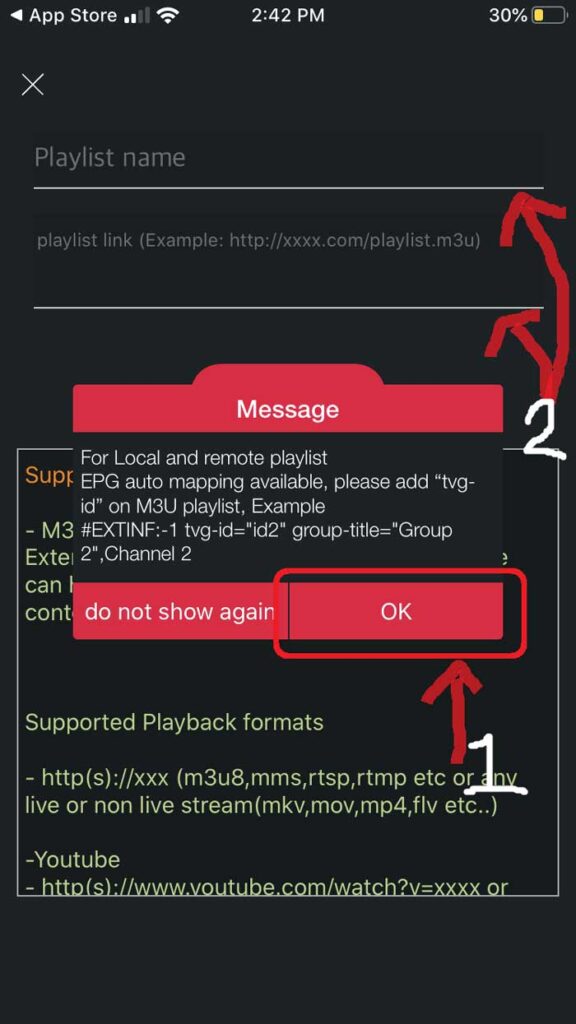
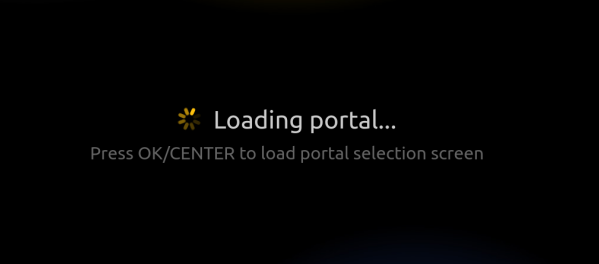
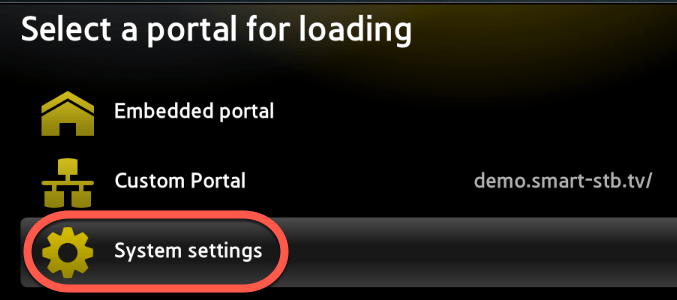
2. Launch the app & when you see “Loading portal” on the screen press OK or any number 0-9 on remote..
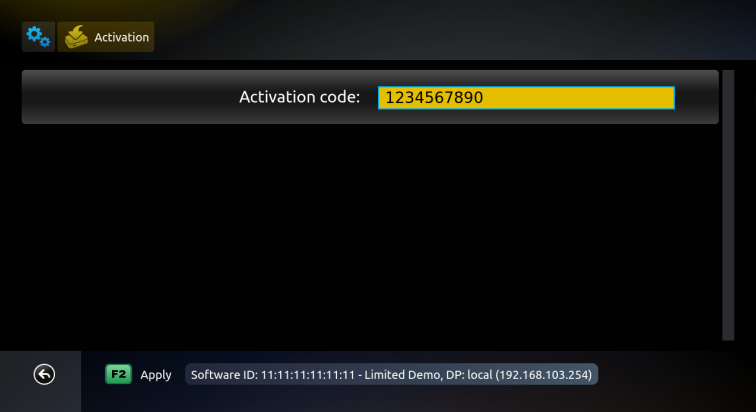
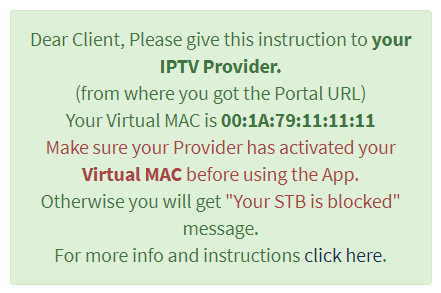
You will see below screen asking for Activation Code:
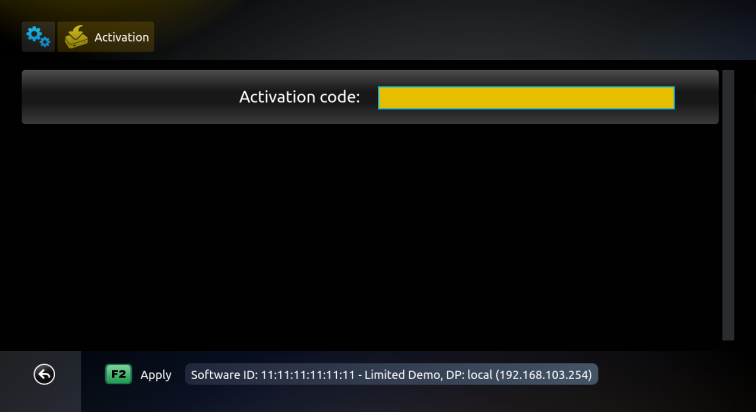
(Example device, information on above picture is for demonstration purposes, please do NOT enter this in the app and site)
This will be the place where you should enter Activation code that you’ll receive later.
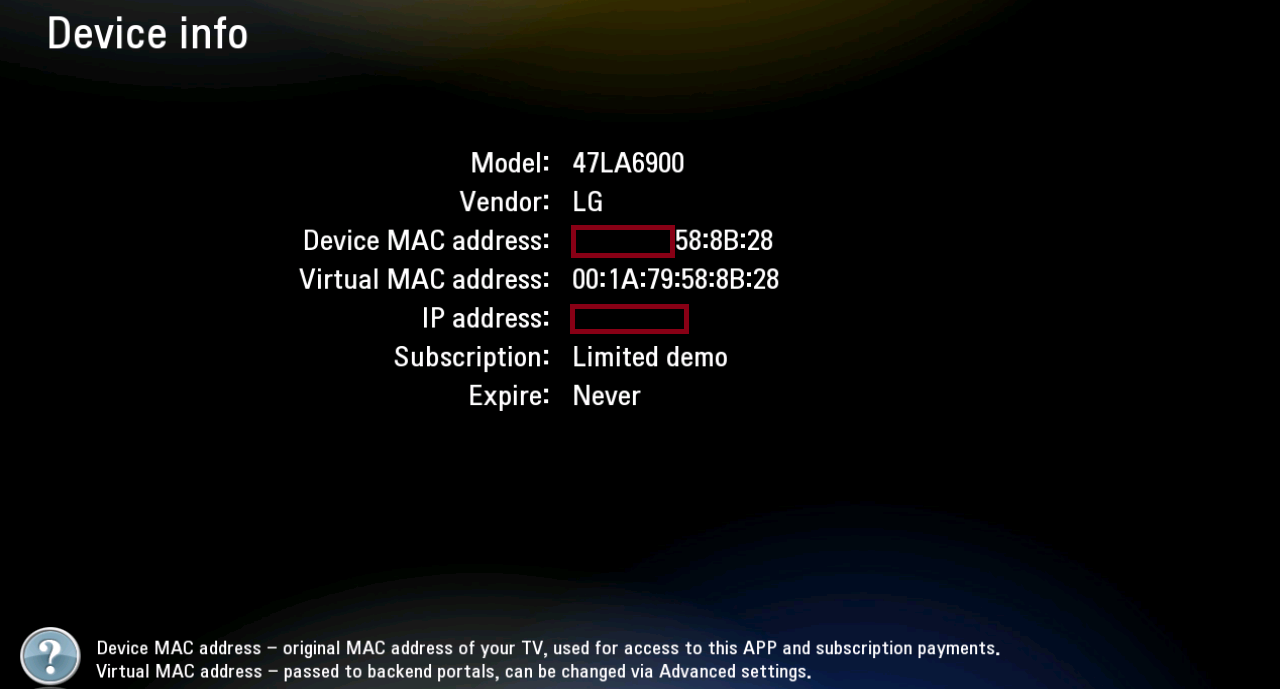
3. Go to system settings in the app & write down the virtual mac address.
4. Now click below link to visit Smart STB website to set portal URL:
You will see this screen:

5. Enter the code marked as red in Smart STB app using your TV remote like below:
6. Back on Smart STB website, enter your virtual MAC address & Portal URL we sent you as below:
Once you enter activation code, Software ID should appear automatically. Please enter it manually if it doesn’t auto detect.

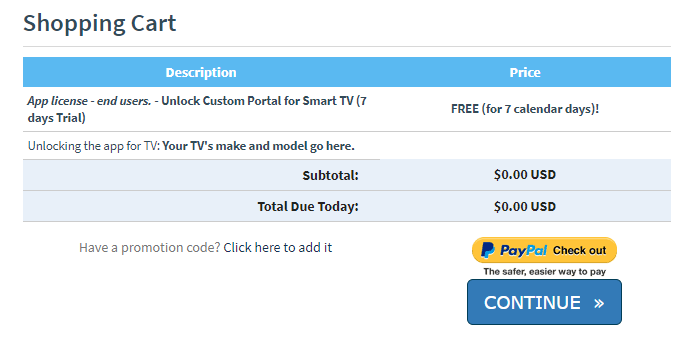
6. Press Continue and complete your order for free trial. The app is free for 7 days.
Please enter all necessary details needed for the registration, you should see the trial in the shopping cart like this:
After a successful registration, you should see this screen in your browser:
(Example device, information on above picture is for demonstration purposes, please do NOT enter this on the app and site)
7. Once all above steps are completed, please restart your TV and open the app again. Portal should start loading and you will see playlist.
Please also send us your virtual MAC address shown in the app so we could add it in our system to enable your line.
This step by-step-tutorial will provide you with instructions to Install and Use TiviMate on Firestick, Fire TV, and Android TV Box.
Please note, you will need LOGIN DETAILS which are provided by us. If you do not have this then kindly CLICK HERE to get yours now.
There is both a premium version and free version of the software available for use. However, we suggest purchasing a premium account for a much more enjoyable experience.
The premium option includes the following features not available with the free version:
As you can see, without the premium upgrade, there isn’t much sense in using the app.
We suggest first installing the free app via instructions below. If you like the app, you can register for the premium version and we cover that below as well.
Once you have signed up and registered for an account, you can install the TiviMate App and set up with our services.
If you have not signed up yet, then please CLICK HERE to place your order and get login details for this app.
In this example, I am setting up TiviMate app on an Amazon Fire TV Stick 4K. We must side-load this application due to the fact that it isn’t available inside the Amazon App Store.
You may also see TiviMate Companion when performing this search. That app is only used to register for the premium service.
1. From the Main Menu scroll to hover over Settings.

2. Click My Fire TV.

3. Choose Developer Options.

4. Click Apps from Unknown Sources.

5. Choose Turn On.

(Skip to Step 13 if you already have Downloader app installer)
6. Return to the home screen and hover over the Search icon.

7. Type in Downloader.

8. Select the Downloader app.

9. Click Download.

10. Click Open.

11. Select Allow if presented with this prompt.

12. Click OK.

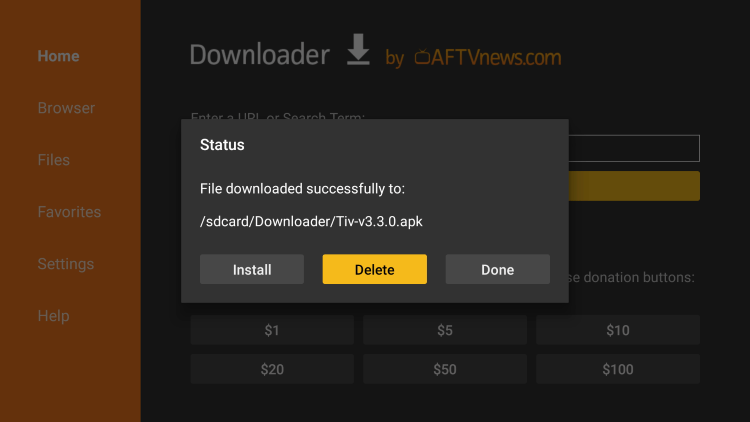
13. You will now see the following screen. Select the URL section

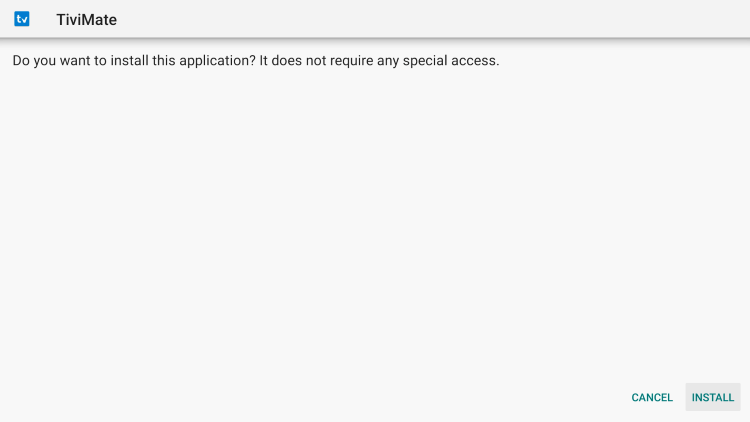
14. It will open a virtual keyboard. Type https://www.firesticktricks.com/tivi and hit Go at the bottom.

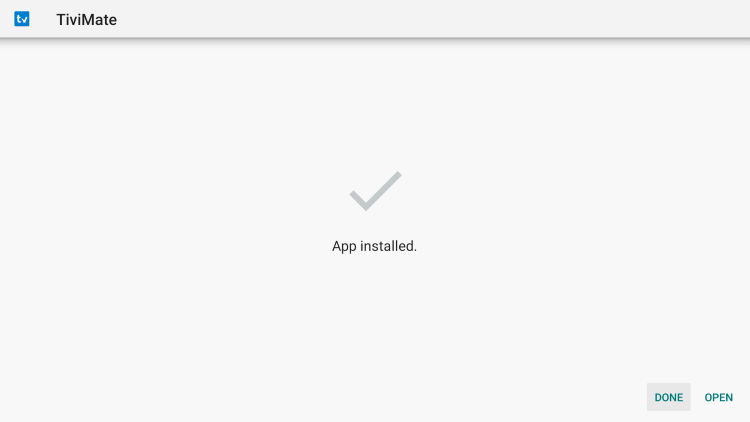
15. Wait for the file to download. Once downloaded, click Install.
16. Click Done.
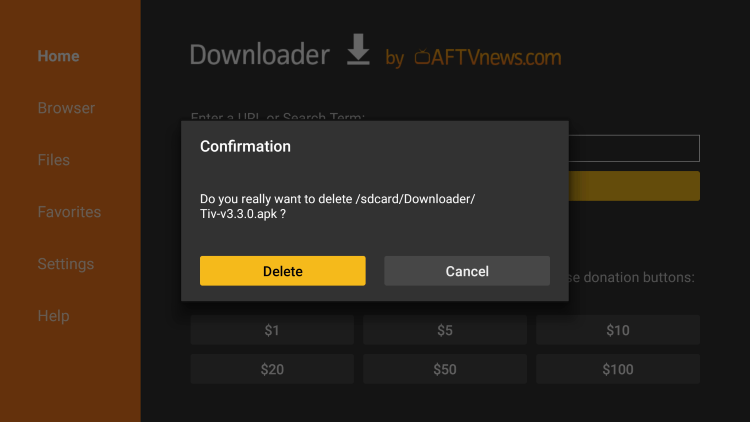
17. This will take you back to Downloader. Click Delete.
18. Click Delete again.
19. Return to device home-screen and under “Your Apps & Channels” click See All.

20. Scroll down to hover over TiviMate.
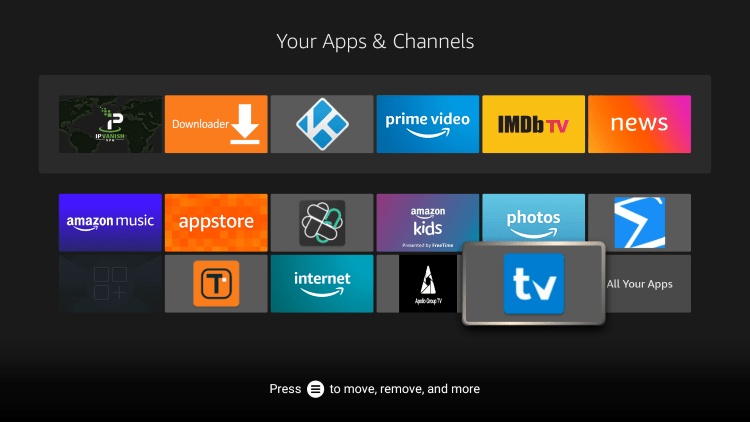
21. Click Menu button on remote (3 horizontal lines), then click Move to Front.
App installation is now complete!
IMPORTANT NOTE: We have found that setup within TiviMate will not work if your VPN is turned On. Make sure to turn your VPN OFF prior to integrating your IPTV Service within this app.
After setup is complete, feel free to Connect to your VPN to ensure safe streaming.
Follow the steps below to integrate KING TV in TiviMate:
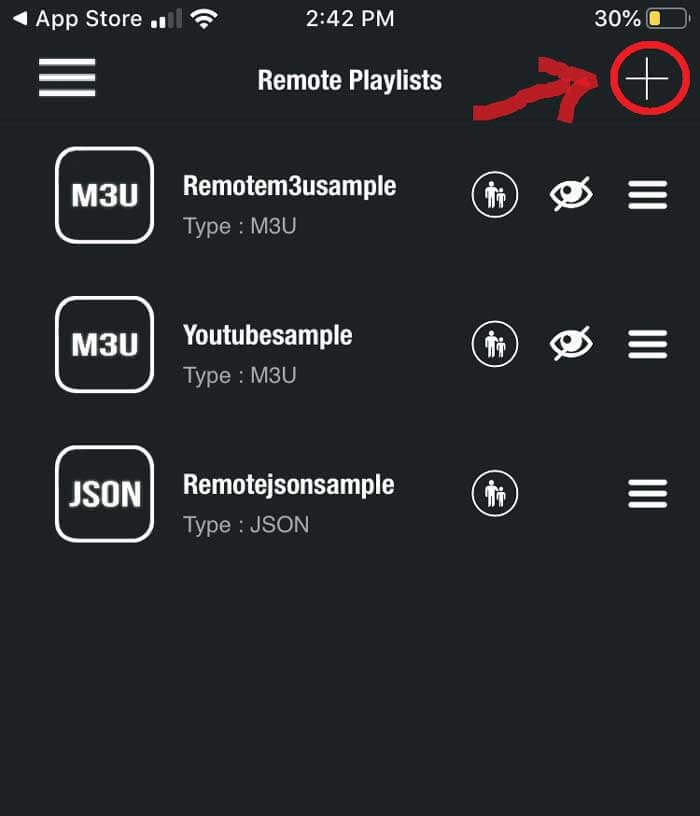
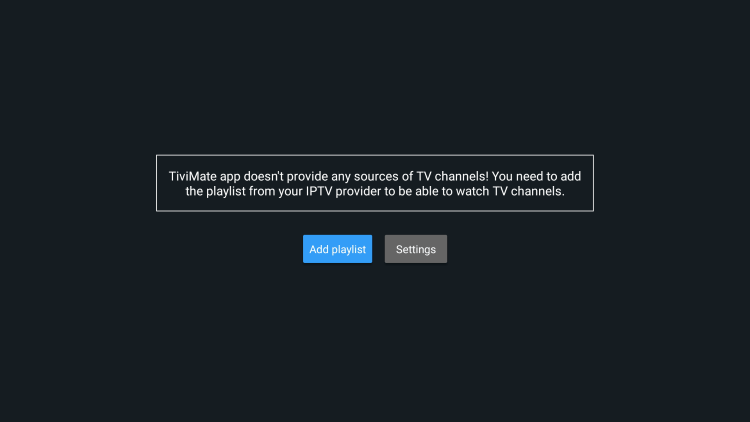
1. Open TiviMate App and click Add Playlist
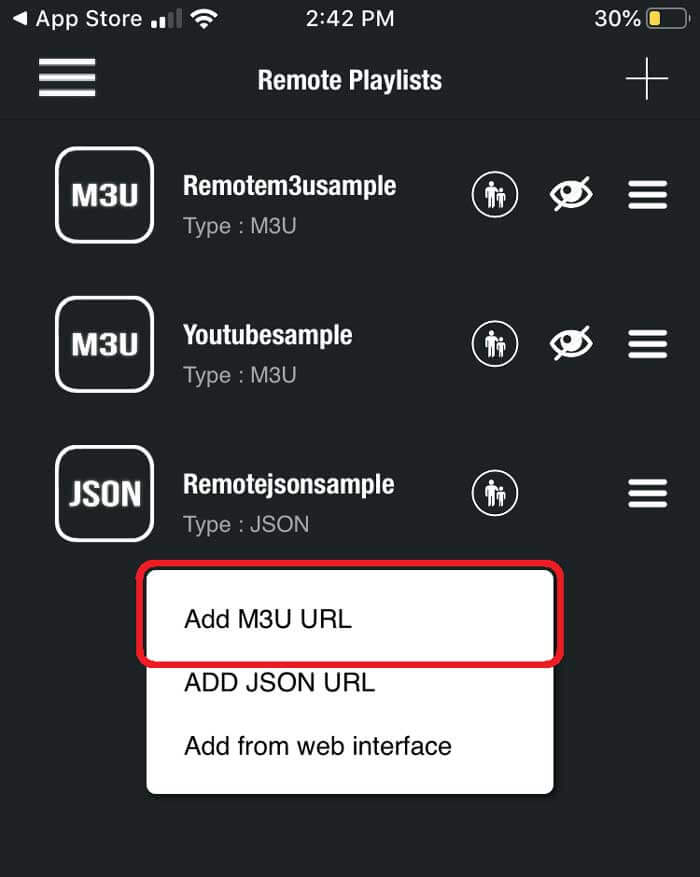
2. Choose XtreamCodes API option to add playlist using the login details emailed to you.
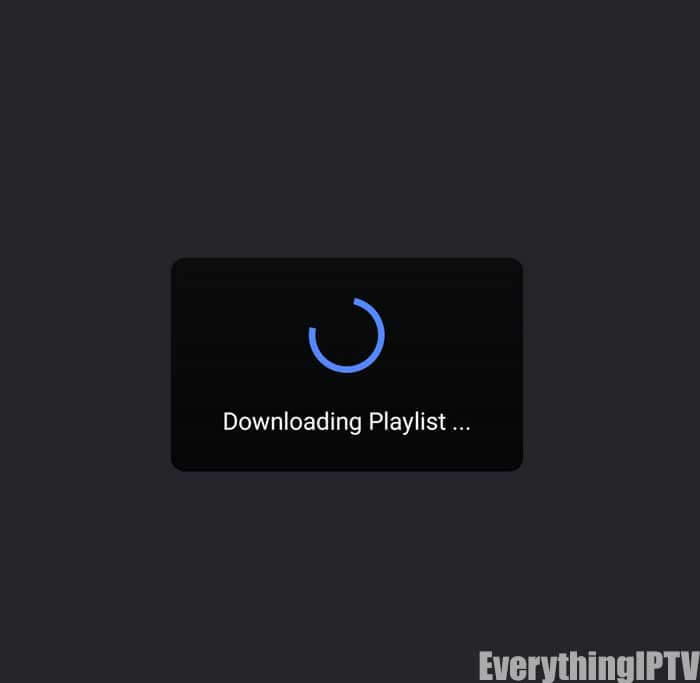
3. Wait for playlist to download.
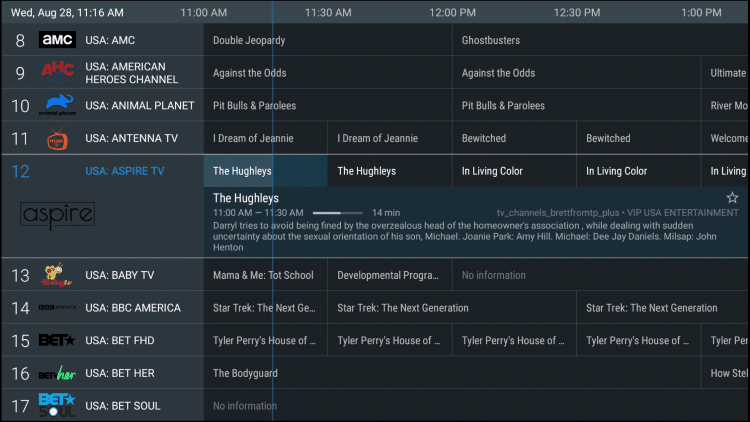
4. You will then see Playlist is processed message with Channel count and your Playlist name. Click Next or Done.
5. Channel list will import and you are able to start viewing!
It is important to note that many of the features within TiviMate are not available for those who choose to use the free service.
For example, if you try adding a channel or channels to favorites you will be prompted with the following message:
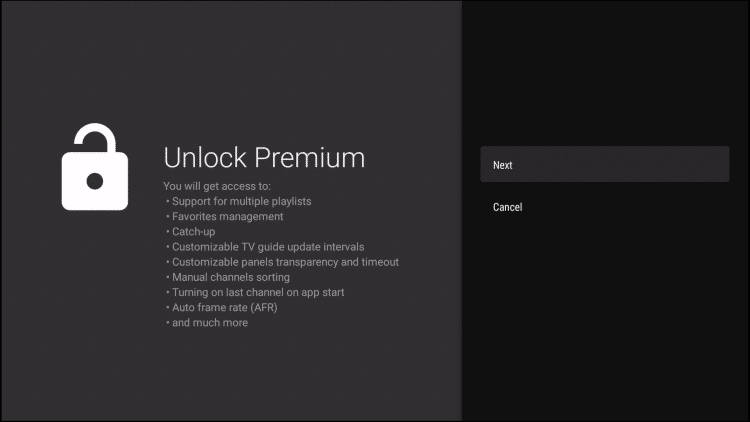
For those who wish to use the free version, simply click Cancel and continue with the TiviMate App.
Navigating this app is a breeze when using your streaming device’s remote. If using a Firestick, the following options are available:
After playing a Channel, clicking the select button will generate various options:
This includes the ability to view recent channels and quick select as well as re-open the TV Guide with your current channel playing in the background:
The Groups options within TiviMate sets it apart from other IPTV applications. Using this to your advantage is a great way to condense your TV streaming experience.
To edit these, simply open the TV Guide and click the Menu Button (3 horizontal lines) on your remote. Then click Group options:
Select Manage groups
To remove an unwanted or unused Group, simply switch the toggle off:
Only highlighted groups will now be visible on the left side menu bar of the home-screen. To adjust the order of these, simply click Manage positions:
Click to highlight and adjust group position to your preference! We suggest using the Favorites Tab at the top for a personal streaming experience.
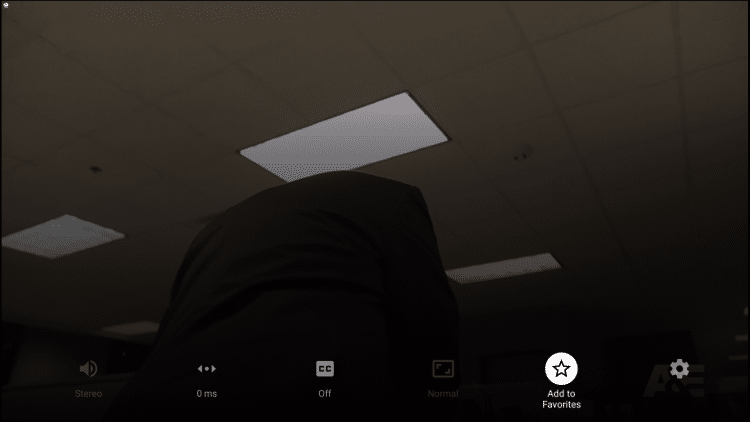
There are a few ways to add a Channel to Favorites.
The first option is to long click when playing a Channel and selecting “Add to Favorites”
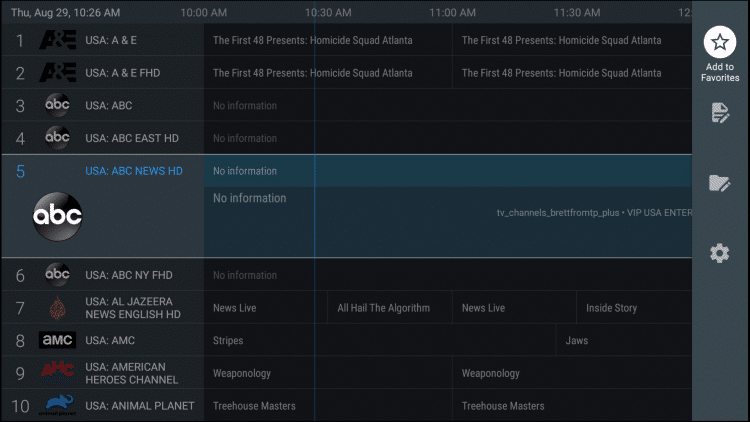
Or, if you you would like to add multiple channels quickly, simply press the Menu button from the TV Guide to prompt the following options:
Within the Settings are the following provided options:
There are a few options within the app’s settings that are worth checking out. One thing we suggest is enabling the confirmation message prior to exiting out. This way, you will not accidentally close the app by pressing the back button too many times:
Another feature to note is the auto-update option for the TV guide. This will ensure your guide is always up to date:
For those who wish to use Parental Controls these can also be established within the Parental controls Category.
This includes setting and using a PIN Number for access. These can be adjusted to require PIN for Playlists, TV Guide, Group options, and more.
Within the Settings option of TiviMate are tons of features and options that will help you get the most out of your Live TV experience.
Adjusting these will help cater the app to your specific preferences. We suggest checking out all of these Categories to ensure the app is set to your liking.
While other IPTV Services and Players fall short when it comes to Closed Captioning, TiviMate does not. That being said, working subtitles will vary from Channel to Channel within the app.
How To Enable Subtitles:
-Open and play your preferred content
-Long Click the Select button on your remote to open options and choose CC
-Change toggle from “Off” to “Closed captions 1”
-Subtitles will now load for your content
Enjoy!
